It’s not Just Icing on the Cake
 Tuesday, September 20, 2011 at 2:00AM
 This week, my dearest friend asked if I would give her a cake-frosting tutorial. Fairly certain that the bride-to-be wasn’t planning a do-it-yourself, or worse, a do-it-together wedding cake, I consented readily.
Between my three-week culinary school foray into the pastry arts, a hand-modeling cameo appearance in a cake decorating spread and testing the magazine’s five, 5-year anniversary cakes, I’ve probably only frosted a whopping baker’s dozen. And yet, I faced the impending lesson with complete confidence. Why? Because I had an ace of a frosting recipe up my sleeve.
The first time I took this frosting for a test drive, it felt as if my offset spatula was a magic wand. But the power wasn’t in the stick, it was in the icing. This glossy, billowing, meringue-based whip glides onto cake with ease and precision. It’s perfect for cake-frosting newbies because you can hone your icing skills and produce impressive results on the first time out; very encouraging.
This frosting is very nicely forgiving, has perfect consistency and it glides onto the cake easily. Typically, you cover the cake with a crumb layer, like a primer coat, but with this thick/pillowy icing there’s no need for second application.
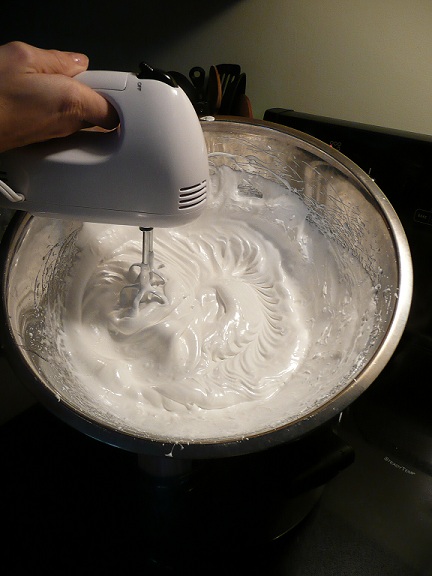 Training-Wheels Frosting
Makes enough to generously frost a two-layer cake (8- or 9-inch rounds)
This basic vanilla flavor can be paired with any cake. Try swapping the vanilla extract for almond with chocolate cake, lemon with vanilla cake or peppermint.
4 egg whites
¼ cup cold water
1 ½ cups sugar
¼ teaspoon salt
½ teaspoon cream of tartar
¼ cup cold water
2 teaspoons pure vanilla extract
Bring about 2 inches of water to a simmer in a large pot. Combine all ingredients except vanilla in a large stainless steel bowl. Set the bowl over the steaming pot and beat on high speed with a handheld electric mixer until the icing is billowy and has stiff peaks; about 5 minutes. Remove from heat, beat in the vanilla and continue beating until the frosting is no longer warm to the touch.
5 Steps to a Perfectly Frosted Two-Layer Cake
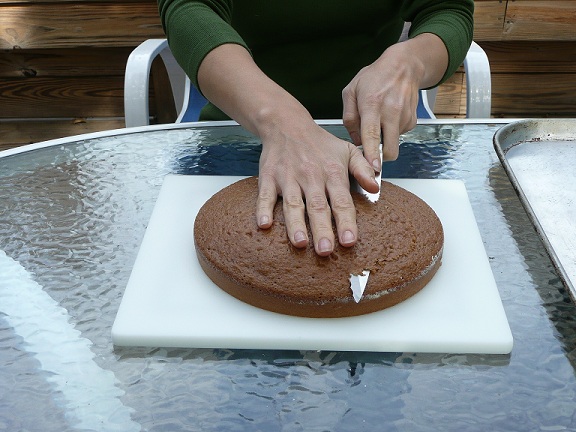 Using a serrated knife, shave a thin layer of cake from the domed sides of each cake layer, so that they will lay flat.
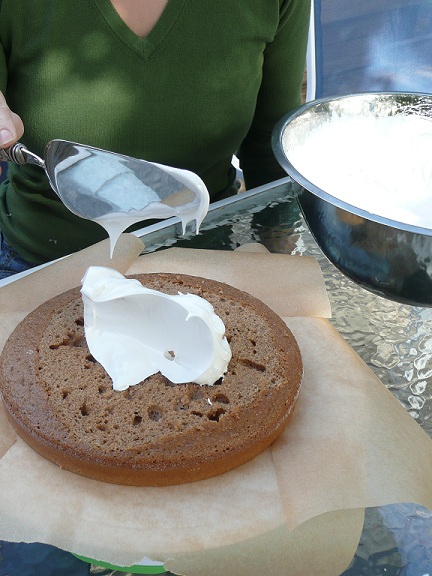 Place one cake layer, trimmed side up, on a cake stand or serving platter. Tuck strips of parchment or wax paper under the edges of the cake to catch any frosting drips and keep the serving plate neat and clean. (Think of this as taping before you paint, a bit of a pain, but totally worth the effort!) Plop a generous cup of frosting in the center of the cake.
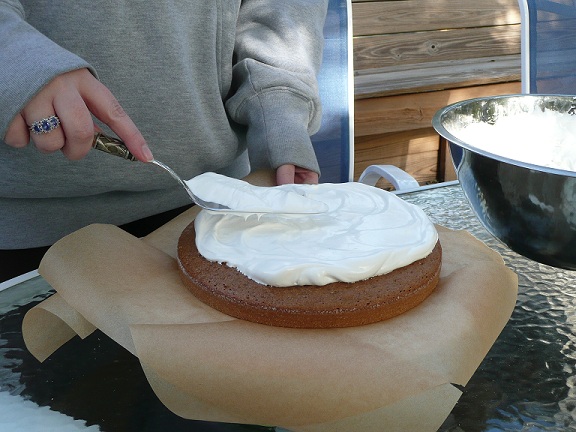 Using an offset spatula (if you don’t have an offset, I’ve found a pie server to be the best alternative) spread frosting out towards the edges of the cake, using a gentle rocking motion and trying never to entirely lift the spatula from the surface of the cake (this will prevent the frosting from pulling off cake crumbs, making it hard to get that smooth, even surface.)
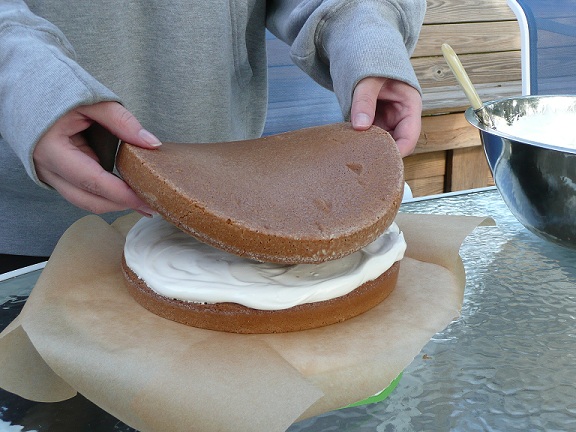 Stack with the second cake layer, facing cut-side down. Top with a slightly larger dollop of frosting and spread to cover the cake top, allowing the frosting to come out past the edges of the cake (this will create that crisp, clean edge around the top of the cake.)
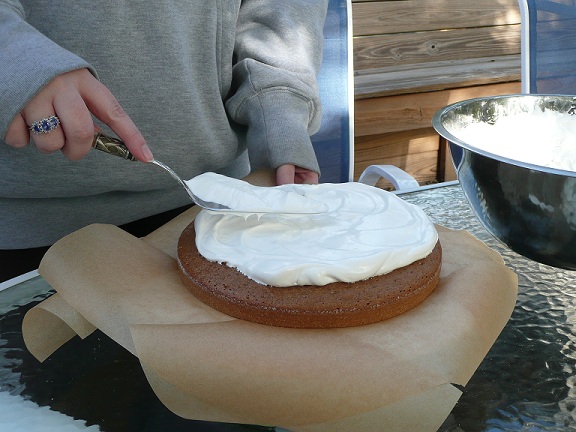 Scrape the spatula clean and, working with more frosting as needed, apply an even layer of frosting around the sides of the cake, rotating the plate as you go. (Think spackle!) Smooth the ridge of frosting around the cake’s top edge by gently sliding the spatula from the edge toward the center.
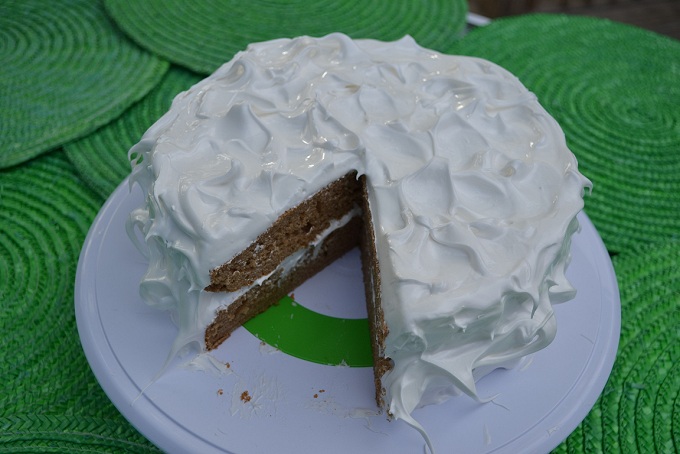 Bonus!
For a fun, flowing texture, use the back of a spoon to create small swirls in the icing. Discard the parchment paper.
Special Fork is a recipe website for your smartphone and PC that solves the daily dinnertime dilemma: what to cook now! Our bloggers blog Monday through Friday to give you cooking inspiration. Check out our recipe database for quick ideas that take no more than 30 minutes of prep time. Join the conversation on Facebook and follow us on Twitter.
Reader Comments