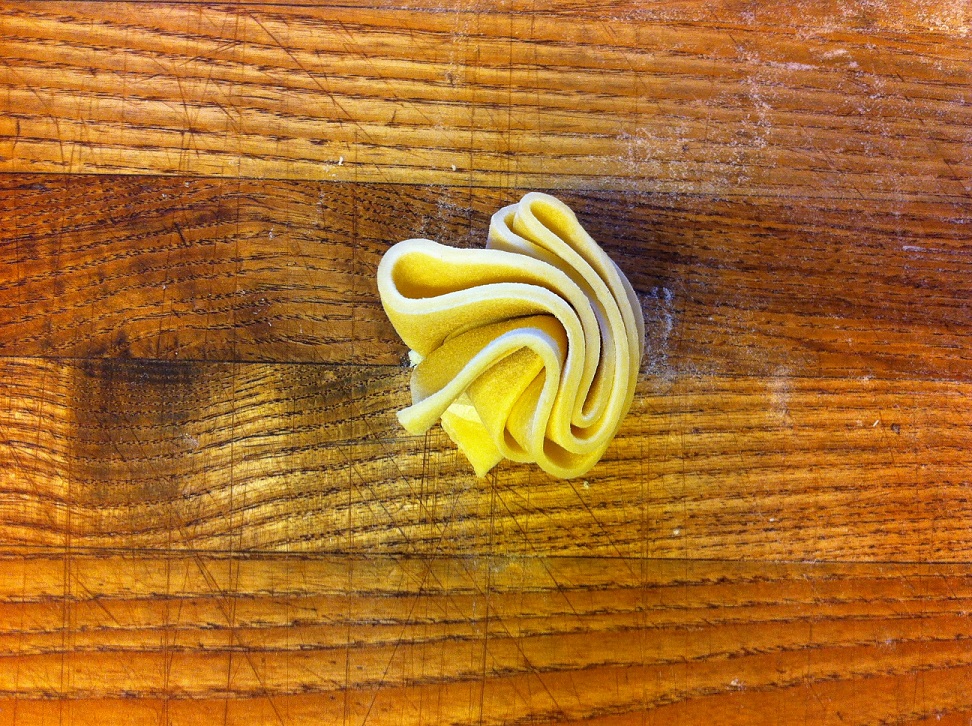
How to Make Pie Dough
 Tuesday, March 12, 2013 at 4:01AM
By Ben Mims
For Cooking Newbie, a blog for beginner cooks
One of the things I get asked about most is pie dough. People seem to be mystified by it. And I’ll quit pretending to not know why: it seems intimidating, fickle, and too much work.
But there’s nothing in cooking that has such a great pay off as properly made and cooked pie dough. And with all the new spring fruits and produce that will be popping up in grocery stores soon, like those ruby-hued stalks of rhubarb, you’ll have a great excuse to make pastry and make pies. The cooking, we’ll get to another time…today is how to make it.
Over the years, I’ve developed an all-purpose pie dough that I use for virtually all pies I make. It’s easy to work with and produces an effortlessly flakey pastry crust.
For pies where I want the crust to be just as much the star as the filling (apple, cherry, pecan), I like to use all butter. It’s slightly less-forgiving, but obviously tastes best.
For pies where I need more structure than taste (lemon meringue, chocolate cream, pudding pies), I will use all vegetable shortening or half shortening and half butter, whatever I feel like at the time.
And despite the facts and what everyone else says, the butter in this recipe can be substituted equally with vegetable shortening, especially since it’s such a small amount. The key is to use these fats as chilled as possible…this will give you plenty of room for error when working with it later.
And while I normally prefer to make pastry by hand, truth told, it can be just as easily made in the food processor. The trick is giving it plenty of time to rest afterward.
Although 1 hour is the minimal amount of resting time in the refrigerator for pie dough, I like to let mine rest overnight or for a day or two. This ensures the dough is very well rested and the flour has had ample time to hydrate in the water.
If you have the foresight, let this dough rest overnight. If you’re in a rush, give it at least an hour in the refrigerator before proceeding with your pie.
To get the recipe and shopping list on your smartphone (iPhone, BlackBerry, Android device) or PC, click here.
Basic Pie Dough
1 1/2 cups flour
8 tablespoons unsalted butter, cut into small cubes and refrigerated for at least 10 minutes
1 tablespoon granulated sugar
1 teaspoon kosher salt
1/4 cup ice-cold water
- Place the flour, butter, sugar, and salt in the bowl of food processor, and pulse 10 times. The butter should mostly be in those tell-tale “pea-size” crumbles, with some larger chunks dotted throughout.
- Transfer to a large bowl, and pour the water over. Using a dinner fork, fluff the flour-butter mixture until it’s evenly moistened with water.
- Using you hand, begin pressing and gently kneading the dough in the bowl until it just comes together and sticks together in a solid mass.
- Shape into a rough ball and then place the dough ball on a sheet of plastic wrap. Cover with another sheet of plastic wrap and flatten into a 1”-thick disk. Using the plastic wrap, smooth any cracks at the edge, and then gather the edges underneath and wrap tightly. Transfer to the refrigerator and let rest at least 1 hour, but preferably up to 24 hours.
- When you’re ready to use it, unwrap the dough, and place is on a liberally-floured work surface (use a lot of flour here since it keeps the dough from sticking to the surface and any excess can be brushed of later). Using a floured rolling pin, place the pin in the middle of the disk and press straight outward, as if the disk was a clock and you were pushing the pin towards 12 o’clock.
- Rotate the disk 1/8th of a turn and repeat this exact motion, applying a gentle amount of pressure. Continue in this manner until the dough is ¼-inch thick. Although this seems painstakingly slow or unnecessary, the repeated motion of only rolling half the disk in the same motion and turning it such a small distance will ensure it stays perfectly round.
- Now your dough is ready to use. If there is a lot of excess flour stuck to the bottom of the dough, simply brush it away with a pastry brush.
Yield: Pie dough for one 9” pie or deep-dish pie, or 11” tart
Special Fork is a recipe website for your smartphone and PC that solves the daily dinnertime dilemma: what to cook now! Our bloggers blog Monday through Friday to give you cooking inspiration. Check out our recipe database for quick ideas that take no more than 30 minutes of prep time. Follow us on Facebook , Twitter, Pinterest, and YouTube.
Related posts:
Reader Comments