Discovering Hatch Chiles
By Sandy Hu
The latest from Inside Special Fork
Having returned from Special Fork’s annual summer hiatus, we’re back at work and raring to go! While we enjoyed our time off, all was not play since we were busy gathering material for upcoming blog posts, such as today’s exploration of Hatch Chiles.
My curiosity was piqued when I received a teaser gift package from Molly Stone’s Markets and Melissa’s/World Variety Produce, Inc., announcing a schedule of Hatch Chile roasting days in the San Francisco Bay Area.
Not having cooked with Hatch Chiles myself and spurred by the invitation, I was at Molly Stone’s Pacific Heights market on the appointed roasting day to purchase my chiles at the produce counter. Then it was off to the parking lot to have them roasted in the rotating gas drum until the chiles were blackened and blistered. Packed hot into a plastic bag so they would steam in transit (which made our car smell heavenly), the chiles were ready to peel by the time I returned home.
What’s a Hatch Chile?
Hatch Chiles are a long, green chile with a heat level that can range from mild to hot. They have a very short window of availability – from August to September – so the time to buy them is now. A single fresh medium-size chile has as much vitamin C as six oranges.
“These chiles are named after the original growing area in Hatch, New Mexico,” according to Melissa’s. “No other chile is prized more than this variety which grows in the Mesilla Valley, just north of Las Cruces. Chefs say that the intense sunlight and cool nights in this valley result in a uniquely flavored chile.”
Selection:
- Look for glossy, firm and meaty chiles with medium to thick flesh. Avoid any with soft spots.
- For even roasting, select flat, straight chiles instead of ones that are twisted.
- If you’re serving the chiles whole, pick chiles of the same size for best appearance.
- If you’re dipping the chiles in batter, select ones with stems so you can dip by the stem.
- Store fresh chiles in a plastic bag in the refrigerator up to five days. Store roasted chiles in the fridge up to three days; freeze roasted chiles for longer storage.
- To freeze, put roasted chiles, peeled or unpeeled, in a single layer in zip-top freezer bags or wrap in a single layer in heavy-duty aluminum foil. Skins are easier to remove after freezing.
How to Roast:
Hatch Chiles are rarely eaten unroasted; roasting brings out the sweetness and mellows out the harshness of the raw chiles. While it’s ideal to purchase from a market that will roast the chiles 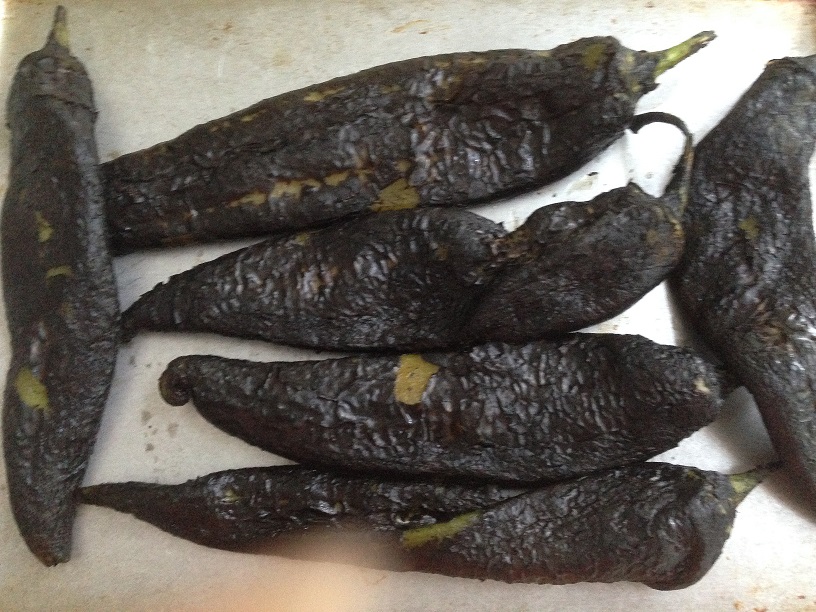 for you, it’s not hard to roast them yourself.
If you roast red peppers, you know the drill: char the flesh of the chiles all over until the skin blisters, then put them into a plastic or paper bag and seal shut; or put them in a bowl that you then cover tightly with plastic wrap, or aluminum foil; let them steam. By the time they’re cool enough to handle, the chiles will peel easily.
Roasting sources:
- On stovetop: Hold chile with tongs over a gas burner, turning until all sides are charred and blistered.
- On the grill: Lay chiles on the grate over high heat; turn until all sides are blistered.
- Broiler: Lay chiles in a single layer on a foil-lined baking sheet. Broil on high; turn until all sides are blistered.
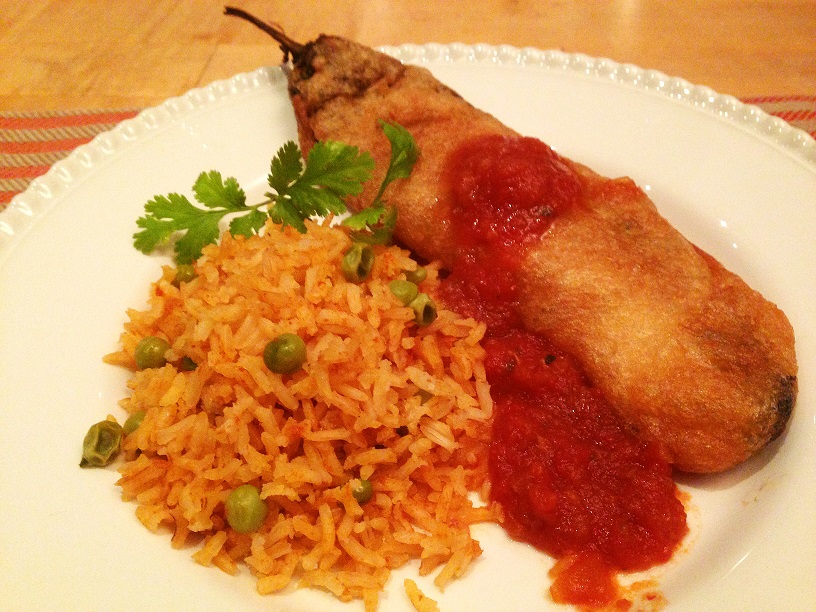
I used my roasted Hatch Chiles in cornbread, in a sausage sandwich and stirred into guacamole. They were also delicious in Chile Rellenos. The recipe below, adapted from the New Mexico Department of Agriculture, fits the Special Fork criteria of a 30-minute prep recipe, assuming that the chiles are already roasted and peeled before you start. Cooking time is extra.
You’ll find more recipes, usage ideas and tips for Hatch Chiles in Melissa’s Hatch Chile Cookbook by Sharon Hernandez and Chef Ida Rodriguez.
Chile Rellenos
In this quicker-prep version, the chiles are not seeded before stuffing. Since the seeds are the hottest part of the chile, be sure to buy mild chiles.
8 long mild New Mexico Green chiles, roasted and peeled (such as Hatch Chiles)
8 sticks Cheddar, Jack or Asadero cheese about 3 ½ inches long and ½-inch thick
1/4 cup flour plus 2 tablespoons, divided
4 large eggs, separated
1/2 teaspoon salt
Oil for frying
Make a small slit at the stem end of the chile and insert a stick of cheese. Repeat for remaining chiles. Put 2 tablespoons of the flour on a plate and roll chiles in flour until coated, gently shaking off excess.
Beat egg whites with salt until stiff. In a separate bowl, beat egg yolks with remaining ¼ cup of flour. Gently fold the yolk mixture into the egg whites until just combined. Use quickly as this batter will separate.
Heat about ½ inch of oil in a broad skillet over medium heat until oil is hot. Test by dropping a bit of batter into the oil. It should sputter and come rising to the top.
Holding chiles by the stem, dip into batter to cover completely. Fry in hot oil until golden brown on both sides. Do not crowd the pan. Drain chiles on paper towels. Serve immediately as is, or with Tomato Sauce (recipe below).
Serves 4.
Recipe adapted from New Mexico Department of Agriculture
Tomato Sauce for Chile Rellenos
1 can (14.5 ounces) stewed tomatoes
1 tablespoon butter
1/4 cup chopped onion
1 clove garlic, minced
1/3 cup water
1/4 teaspoon salt
1/2 teaspoon dried oregano leaves
Purée tomatoes in a blender or food processor; set aside. Melt butter in medium saucepan. Add onion and garlic and sauté until onion is translucent. Add puréed tomatoes, water, salt and oregano; bring to a boil, lower heat and simmer 10 minutes.
Special Fork is a recipe website for your smartphone and PC that solves the daily dinnertime dilemma: what to cook now! Our bloggers blog Monday through Friday to give you cooking inspiration. Check out our recipe database for quick ideas that take no more than 30 minutes of prep time. Follow us on Facebook , Twitter, Pinterest, and YouTube.
Related posts:
 Sandy Hu
Reader Comments